I was travelling from Masterton back to Wellington when I decided to stop at Greytown for a bite to eat. It really is a lovely spot and each time I visit I find another place to wander into and explore. So it was that I stumbled across this gorgeous food store and cafe.
http://foodforestorganics.co.nz It was like a toy shop for people like me. Oh my - I couldn't decide what to buy first. The shop was so well presented, so clean, inviting and fresh looking. And the service was impeccable. So much to chose from - they had every organic grain imaginable on the shelves, lots of lovely jars of this and that, beautiful fresh vegetables and food to take away or eat in the cafe and things for your kitchen. Go visit!
This was where I found my lovely organic celeriac bulbs. I am very fond of celeriac. I planted some last year but they did not come to much, more like the size of a little plum with a massive tangle of roots hanging from it. In the end I only had enough to mash with potatoes, but still perfect as an accompaniment for my small fillet steak.
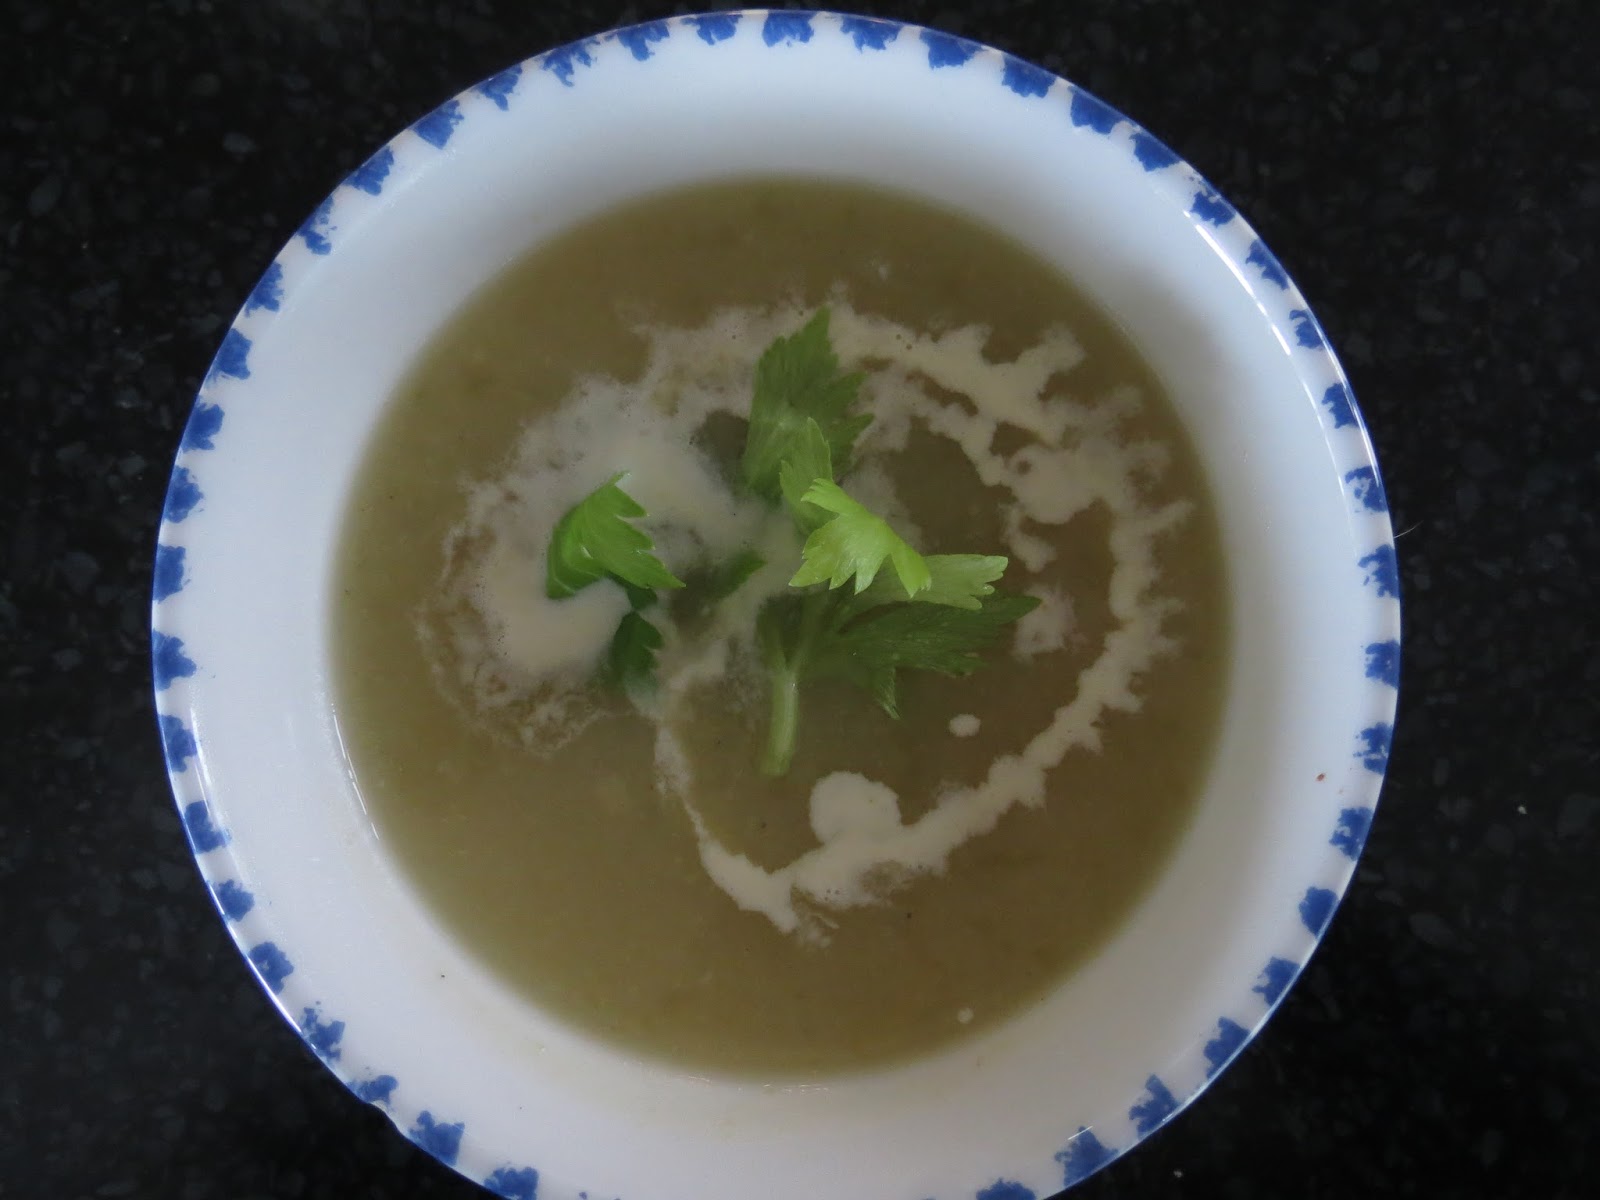
I had an inspiration from making a celery soup last week ( from the Moosewood Cookbook) and using this recipe thought Celeriac soup might work. It tastes a bit like celery, so I decided to throw a bit of celery into the soup as well.
The result was delicious! But you gotta love the celery taste (which I do). To finish it off I stirred just a teaspoon of cream into the hot bowl of soup - served with hot buttered toast - it was yum on a cool June afternoon!
Celeriac and Celery Soup
Cut 1 medium celeriac into chunks. Chop about 4 stalks of celery into chunks. Place the vegetables in a large pot with about 4 cups of water, chicken or vegetable stock. Cook until soft. Check for seasoning, add salt and white pepper to taste. Take off stove and puree soup till smooth.
Take 2 - 4 stalks of celery and chop finely - I used the whizz to mince mine - it's done in seconds.
Add to the soup and bring back to a simmer until just cooked. This adds a nice texture to the soup.
Serves about 6
You could garnish your soup with a couple of celery leaves, bits of crispy bacon or grated cheese.
Serve with toast or chunks of warm bread, liberally smeared with butter.
Tuesday, 9 June 2015
Friday, 29 May 2015
Mushrooms and foraging
I have previously posted about the joy of gathering 'wild' food in random places and creating dishes with the produce.
I couldn't believe my eyes, when on one of my recent daily walks around the neighbourhood, I spotted four large beautiful mushrooms growing on a grassy patch of council owned land (which says to me people can collect said food at leisure).
I immediately picked one and using my limited knowledge of mushrooms declared them perfectly safe to pick and take home to eat. The hubby was not so sure, so I was reluctantly convinced to leave them there for someone else to take the risk.
The next day they were still there, including the one I picked."It was a sign", I said! So I ducked home, grabbed a large brown paper bag and gathered them up.
Much discussion was had around toxins ripping through my body if I consumed them. I even asked for a friends help, calling over to her house to ask "do you think these are poisonous"? After much debate, inspection and sniffing we agreed they looked very much like Portobello mushrooms.
I also checked on the Internet and became even more convinced my mushrooms were of the Portobello variety and therefore perfectly safe to eat.
How to cook them? Many of my favourite recipes came to mind, Coq au Vin, cream of mushroom soup and rice rissotto. In the end I chose wild mushrooms fried in butter, piled on toast. Delicious! I must admit they were a little stronger in flavour than the store bought ones. But they reminded me of the field mushrooms we collected as children on our many Easter camping holidays in the country. My mother used to fry them up on a camp fire. Foraged free food made her pretty happy too and like my story, we all survived to tell the tale!
I forgot to take a photo of them cooked ( I was too busy devouring them), suffice to say they were a lovely rich brownish/black colour.
Saturday, 2 May 2015
Parcel cooking, with Lamb
Further to my previous blog I thought I would report on another recent 'experiment' - cooking a leg of lamb - in a brown paper parcel.
I must admit, I was a bit of a nonbeliever in said method for such a large piece of meat. And you could say I was a little reckless cooking it for the first time for dinner guests.
When I ordered the meat at my local butcher, he was quick to tell me they didn't wrap their meat in brown paper any more! I reassured him I had that in hand. I had managed to purloin some from our local picture framers!
The upshot of all this was a cooked leg of lamb which was surprisingly - a roaring success.
I used a recipe by Ruth Pretty, which recently appeared in the Dominion Post.
Smear a large leg of lamb, mine was just under 3kg, ( chump removed but cooked alongside the leg) with a mixture of 1/4 c lemon juice, 10 - 12 sprigs of oregano, olive oil, seasoning, and poke slivered garlic into little slits neatly made in the meat.
Place a layer of baking paper on top of a large sheet of brown paper and making sure the fat side of the lamb is facing up, wrap neatly to ensure it is all completely enclosed.
Secure the parcel with cooking string and some expert tying techniques and 'bobs your uncle'.
Be sure to place the lamb parcel on a wire rack sitting in a large meat dish.
Preheat the oven to a high heat then turn down to 170 C and slow cook for 3 1/2 hours. Don't be tempted to break the seal while it is cooking.
Remove from the oven and let it rest for 20 - 30mins - still wrapped - this part is essential.
I think my guests were a little surprised to see what I was about to serve! The big reveal was a little fiddly but the man and I had heaps of fun unwrapping the steaming surprise, while saying quietly to ourselves 'please G, make it be cooked' ? A quick check with the meat thermometer confirmed all was well. The meat almost fell off the bone.
Be careful to save the juice as this is used to serve with the meat, or if you prefer, to be the basis for your gravy. I served it with roast vegetables, peas and beans.
It all made for a delicious Good Friday dinner with great friends. This now completes my go at 'parcel' cooking. It has been such fun.
| I prepared the lamb day before, left in the fridge overnight, bought to room temperature and placed in the oven when needed |
| With the meat coming away so well from the bone, it looks cooked but best to confirm to be sure |
Tuesday, 31 March 2015
Small parcels of deliciousness
I have been thinking about this blog for a while, having fun with it too.
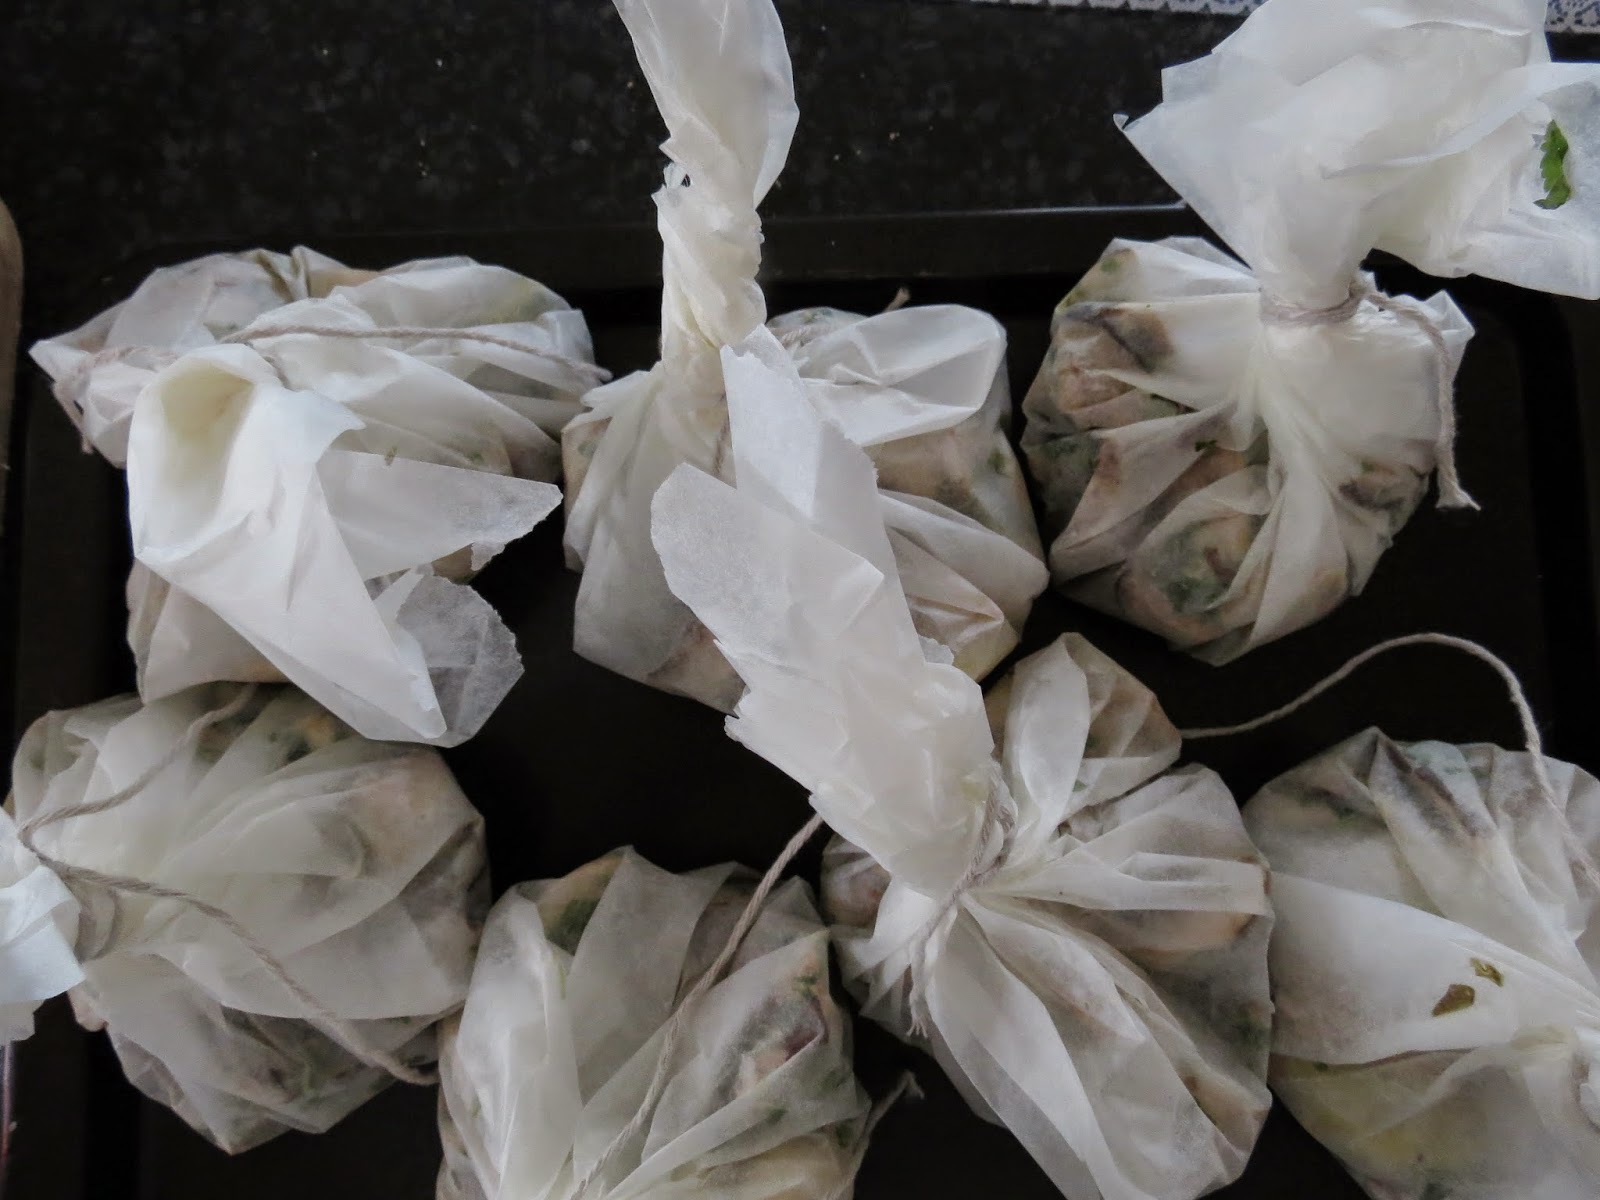
Over the last month or so I have been on a bit of a theme, wrapping my dishes in parcels of baking paper, tying firmly with string and cooking them to perfection.
So far I have tried.....
Yotam Ottolenghi recipe of mushrooms cooked in herbs and this time with cream, (seen previously on this blog - Vegan style)
http://pbearinwelly.blogspot.co.nz/2013/05/mushroom-parcels-for-my-vegan-friend.html
This is just heaven - unlike my Vegan post - add the cream - really makes a difference. We had some left overs warmed the next day and served on toast for lunch. Yum!
Ruth Pretty's Fish Parcels with Fennel, Pear and Capers (recently featured in the Dom Post)
(Serves 6 - Finely julienne a medium fennel bulb (remove the tough leaves first), finely slice 2 medium shallots, cook with a little oil over medium to low heat for about 2-3 minutes, add a julienned small firm pear (leave the skin on), cook a further 2-3 mins, add 4 tbsp rinsed and coarsley chopped capers, 2tbsp finely chopped parsley, salt and pepper - put to one side.
Cut 6 x 48cm x 30cm rectangles of baking paper. Lay the above in the centre of one side, place a fish fillet (Terakihi or Gurnard) on top, add a sprig of dill or fennel and a knob of butter, season a little, fold into a parcel so it is all well sealed. Tie your parcel firmly with cooking twine.
Cook at 200C in a low sided tray for 9-12 minutes. Like me you may need two trays if making for 6. Serve with a wedge of lemon, minted potatoes and a crisp salad.
My guests really raved about this recipe. It is a bit of a winner.
Lauraine Jacobs Tarragon and Lemon Poussins in paper ( I used whole chicken legs)
http://cuisine.co.nz/cuisine.nsf/recipes/tarragon-llmon-poussins-in-paper?Opendocument&HighLight=2,tarragon,lemon,poussins
Yes it is a bit of a tiny fiddle to untie and unwrap at the table. But that is part of the excitement of what lies within! If you must, unwrap just before serving to your guests. But it is so exciting for them to unwrap and reveal at the table, the smells and the steam of deliciousness just waft out to get their taste buds going............
All of these recipes are tried and true, and are divine!
Handy too, as you can prepare all the above recipes well beforehand (and place in the fridge ready to pop in the oven when required).
Over the last month or so I have been on a bit of a theme, wrapping my dishes in parcels of baking paper, tying firmly with string and cooking them to perfection.
So far I have tried.....
Yotam Ottolenghi recipe of mushrooms cooked in herbs and this time with cream, (seen previously on this blog - Vegan style)
http://pbearinwelly.blogspot.co.nz/2013/05/mushroom-parcels-for-my-vegan-friend.html
This is just heaven - unlike my Vegan post - add the cream - really makes a difference. We had some left overs warmed the next day and served on toast for lunch. Yum!
| Ready to parcel up |
| Mushroom parcels all ready for the oven |
(Serves 6 - Finely julienne a medium fennel bulb (remove the tough leaves first), finely slice 2 medium shallots, cook with a little oil over medium to low heat for about 2-3 minutes, add a julienned small firm pear (leave the skin on), cook a further 2-3 mins, add 4 tbsp rinsed and coarsley chopped capers, 2tbsp finely chopped parsley, salt and pepper - put to one side.
Cut 6 x 48cm x 30cm rectangles of baking paper. Lay the above in the centre of one side, place a fish fillet (Terakihi or Gurnard) on top, add a sprig of dill or fennel and a knob of butter, season a little, fold into a parcel so it is all well sealed. Tie your parcel firmly with cooking twine.
Cook at 200C in a low sided tray for 9-12 minutes. Like me you may need two trays if making for 6. Serve with a wedge of lemon, minted potatoes and a crisp salad.
My guests really raved about this recipe. It is a bit of a winner.
| Ready to parcel |
http://cuisine.co.nz/cuisine.nsf/recipes/tarragon-llmon-poussins-in-paper?Opendocument&HighLight=2,tarragon,lemon,poussins
| Ready to parcel wrap |
| Make sure you use a tray, some juices may dribble out |
All of these recipes are tried and true, and are divine!
Handy too, as you can prepare all the above recipes well beforehand (and place in the fridge ready to pop in the oven when required).
Saturday, 21 February 2015
Hunters Chicken Stew (Pollo alla Cacciatora)
This is a simple rustic dish, easy to prepare, looks impressive and great for a crowd. I have made it quite a few times as it something you prepare and pop in the oven and enjoy a wine (or two) while you chat with your friends and wait for it to cook. the smell wafting from the kitchen is just divine.
Just remember you need to marinate the chicken, best to do it the night before, and you need to reserve the marinade to return to the dish after you brown the chicken pieces. Don't do what I did once and throw the marinade out by mistake. A reminder to self, 'read the recipe before starting'! Mmmmmmm.
I slightly adapted Jamie Oliver's version found in 'Jamie's Italy'. Instead of tinned tomatoes I slow roasted a heap of over- ripe fresh tomatoes and added those to my dish. A great way to use up that abundant tomato harvest. I tossed some of my lovely homegrown rosemary, garlic and bay leaves into the recipe too - very satisfying to have those so fresh in the garden at this time of the year.
Jamie recommends to serve this with cannellini beans and a salad but you could just serve with a side of fresh crusty bread smeared with loads of lovely butter. Great for sopping up that gorgeous sauce. I added a pile of small potatoes to the dish, a bit of a favourite combo of mine.
Hunters Chicken Stew (Pollo alla Cacciatora)
Ingredients
1 x 2kg chicken or equivalent amount of chicken pieces
sea salt and freshly ground black pepper
8 bay leaves
2 sprigs of rosemary
3 cloves of garlic (1 crushed, 2 sliced)
1/2 bottle of Chianti (I just used a cheapish Shiraz)
flour for dusting and extra virgin olive oil
6 anchovy fillets
a handful of green or black olives, stoned
2 x 400g tins of plum or Italian tomatoes or equivalent slow roasted ripe tomatoes with just a little water added ( I added a little too much)
Method
Season chicken pieces and put them in a bowl with the bay leaves, rosemary sprigs, and the crushed garlic and cover with the wine. Leave to marinate for at least an hour but preferably overnight.
Preheat the oven to 180 or 350F. Drain the chicken, reserving the marinade, and pat dry with paper towels.
Dust your chicken pieces with flour and shake off excess. Heat a pan with a little olive oil and brown chicken evenly on both sides.
Place pan back on heat, add sliced garlic. Fry gently until golden brown, add the anchovies, olives, tomatoes (break them up a little) and chicken pieces and reserved marinade.
Bring to the boil, cover with a lid or foil and bake for 1 1/2 hours. Remove bay leaves and rosemary sprigs and serve.
| I should have reduced the sauce a little more at the first stage. It wasn't wasted - I just scooped it up with a large soup spoon! |
| I love the flavours in this dish |
Sunday, 1 February 2015
Potatoes, garlic and carrots
It sounds like a perfect dish! But no - this is really a post about small beginnings.
I planted Jersey Benny potatoes for the first time this season. I also planted organic garlic - another first, the result was not exactly a massive harvest but you have to start somewhere I suppose. I also harvested carrots of a strange shape, not your usual carrot shape, more 'stumpy'. My hubby thought they looked like something from 'Hobbiton' but then nothing surprises him when it comes to my gardening! They were delicious, so sweet. I grew the Jersey Bennys in a big barrel (another first). They certainly took their time and while the quantities were not big they tasted wonderful.
Another success was my rhubarb. I was given a plant when I first moved to Welly but it hasn't really thrived. This season, after a lot of compost and the odd sheep pellet and lots of watering, I have a lovely crop. I made some into a yummy Chelsea Winter rhubarb crumble. So delicious. I secreted away a little plate of left overs but unfortunately my little grandson had spotted me and asked for it the next day. How could I say no?! Drizzled with cream, the plate was literally licked clean.
Looking over my photos recently I came across these of my first house. It was a truly humble little place but I was so proud of it. As you can see the back yard was pretty much vegetable garden, which supplemented my pathetic income at the time. In those early years I had a little more strength and energy, so it was well and truly laden with vegetables. I do remember spending hours digging and weeding, often in searing heat, and the early experience planted (excuse the pun!) the love of growing my own produce. I spent months and months redecorating the inside, landscaping the outside of the house and sorting a driveway and single garage. I sold it after about three years. It looked a picture on sale day and the first person (a woman) through the door bought it on the spot.
While my daughter was visiting over the holidays we organised a 2013 book of my blog using Blurb. When I first started my blog I thought it would be a great way of recording and sharing my 'tried and true' recipes but it has become a little more than that. Now I also see it as a way of 'talking' to my friends and family, a bit of a journal really and making the book ensures these conversations are not lost. So now I have the 2012 and 2013 Capital Living editions and it is lovely to look back on them and use them as recipe books.
So from small beginnings - looks like I will continue gardening, creating and writing into 2015!
I planted Jersey Benny potatoes for the first time this season. I also planted organic garlic - another first, the result was not exactly a massive harvest but you have to start somewhere I suppose. I also harvested carrots of a strange shape, not your usual carrot shape, more 'stumpy'. My hubby thought they looked like something from 'Hobbiton' but then nothing surprises him when it comes to my gardening! They were delicious, so sweet. I grew the Jersey Bennys in a big barrel (another first). They certainly took their time and while the quantities were not big they tasted wonderful.
Another success was my rhubarb. I was given a plant when I first moved to Welly but it hasn't really thrived. This season, after a lot of compost and the odd sheep pellet and lots of watering, I have a lovely crop. I made some into a yummy Chelsea Winter rhubarb crumble. So delicious. I secreted away a little plate of left overs but unfortunately my little grandson had spotted me and asked for it the next day. How could I say no?! Drizzled with cream, the plate was literally licked clean.
![]() | |||||||
| potatoes, garlic and my stumpy carrots |
| Me, proudly in front of my vege plot |
| A garden not that flash looking but good soil |
| The back yard on sale day - with new fancy paths and lawn |
So from small beginnings - looks like I will continue gardening, creating and writing into 2015!
Friday, 16 January 2015
Summer Berry Trifle
Have you ever seen a grown woman swoon over a spoonful of trifle. Well yes, I have! Because this recipe is a real 'doozey'.
Trifles can be a little boring - think the old days when money was a little tight and your lovely Mum had to compromise by using raspberry jam and fruit salad when making the family trifle (it also had to go a long way). And that was the way I thought you should make a trifle until I 'saw the light' and made this one. Yes, raspberries can be a little pricey at Christmas time but that only adds to the luxury of the dish. It gives us a good reason to grow our own raspberries don't you think.
There is no jam or fruit salad in this delicious bowl of loveliness! Just lots of gorgeous fresh summer berries, custard, (slightly) sherry drenched sponge and cream. And it is so simple to make!
I thought with the additional sugar the dish may be a bit sickly sweet, but it isn't.
It looks pretty and tastes divine, a definite winner. Having made two over the holidays it is now in my Christmas repertoire.
Like me, the other recipients of the trifle were also in raptures - which is fine with me - I like to make people happy and it means another empty bowl to take home!
Summer Berry Trifle –
Fiona Smith - Cuisine magazine Issue # 149
Sponge cake – make your own or use a large square Ernest Adams plain sponge - it is perfect for this
For the fruit
125g sugar
60ml water
2 sheets leaf gelatine (or 1 ½ tsp powdered)
3 cups raspberries
3 cups of strawberries hulled and halved (or quartered if
large)
Place the sugar and water in a saucepan. Heat for a few
minutes until the sugar dissolves.
Remove from the heat.
Place the gelatine in cold water for 5 mins to soften. If
using sheets squeeze out the excess water then stir into the sugar liquid. If
using powdered gelatine, sprinkle it over the liquid and wait for it to soften
then stir in. Stir in the berries then allow mixture to cool.
To assemble
Sherry to taste
300ml cream, whipped
500ml of custard
Cut the sponge into large cubes. Arrange half the cubes in a
large glass bowl then sprinkle with sherry. Top with half the fruit mix and
some syrup, then half the custard. Repeat in layers then top with cream.
Serves about 6 - 10 people depending on serve size.
P.S Because I love blueberries I thought I might use blueberries instead of
raspberries next time. They might bleed a bit, but worth a try I think.| My layers were not so perfect but still look pretty good |
| I made the mistake of adding a layer of cream on top of the custard, but it seemed to add to the gorgeousness |
| Tossed flaked almonds as a garnish on top |
Subscribe to:
Posts (Atom)